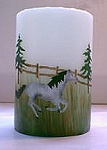
Nancy Henning is a professional artist from Whitefish, Montana who specializes in walls, floorcloths, and custom stenciled candles. Today she’s sharing her method for stenciling candles in this step-by-step tutorial.
Candle Stenciling
by Nancy Henning
Supply List
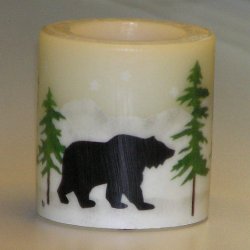
- Plain White Candle
- Rubbing Alcohol
- Candle Painting Medium (discontinued - substitute DecoArt Paint Adhesion Medium)
- Acrylic Paint
- Stencil
- Stencil Brushes
- Stencil Adhesive
- Rubber Bands
- Blue Tape
- Paper Towels
Basic Instructions
- Clean the candle surface with household rubbing alcohol on a paper towel to remove oils. Allow to dry.
- Position stencil on candle using stencil adhesive, blue tape, rubber bands, or a combination of all to hold it in place.
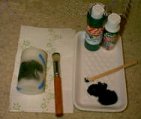 Mix equal parts candle painting medium and acrylic paint in a shallow container. Lightly dab your stencil brush into the mix, and offload any excess paint onto a paper towel. You’ll want to use a dry brush technique to keep paint from seeping under your stencil.
- Stencil the design lightly, using a tapping, or stippling, motion, and let dry. It will usually take 2 or more additional coats of paint to get adequate coverage. Only the first coat of paint needs to be mixed with the candle painting medium, to prevent the paint from crawling.
- Let dry, and enjoy your creation.
Alternate Finish Method
Candles may also be finished by dipping into melted beeswax, which gives a beautiful, soft finish to the candle. The beeswax I use is a light ivory color, usually bleached. It may be purchased on the internet, but is rather expensive, so not advisable unless you plan on doing a lot of candles.
Tips
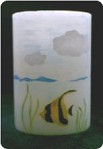 Stencils may be hand cut using mylar or freezer paper. Draw design and cut out using an X-Acto knife.
- In the case of multiple overlays, do not use adhesive or tape to hold the stencil in place. It will pull off the layer of paint underneath it when removed. Rubber bands and fingers work best in this situation.
- If you make a mistake that can not be corrected, you may start over by cleaning the paint off the candle with rubbing alcohol.
Sources & Resources